Getting Started
Setting Up Your Account

Welcome to Survia! 👋
Getting started with Survia is quick and simple. Follow this guide to set up your account and unlock the full potential of our survey-building platform.
Step 1: Sign Up for an Account
To begin, visit the Survia Sign-Up Page. Fill in your details, including:
- Name
- Email Address
- Password
Once you've entered your details, click Sign Up.
💡 Pro Tip: Use a strong password to keep your account secure.
Step 2: Logging Into Your Account
Once you sign up, log in to Survia using your email and password. You’ll be directed to your personalized dashboard, where the magic happens.
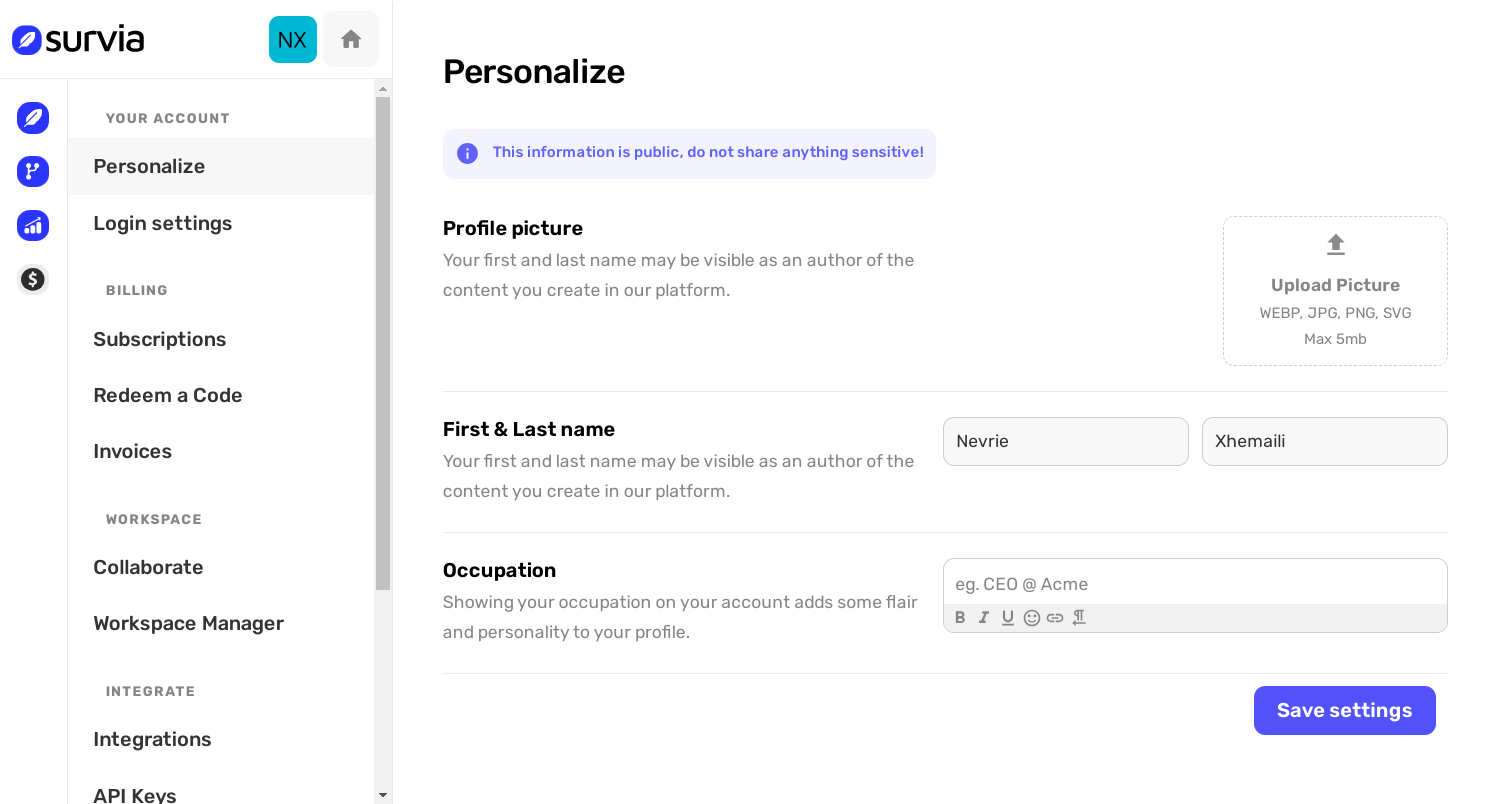
Step 3: Setting Up Your Profile
In the dashboard, navigate to Account Settings to customize your profile.
- Add your name or business name.
- Upload a profile picture or logo for branding purposes.
- Set your occupation.
Customizing Notifications
Control how and when Survia communicates with you by configuring your notification preferences in the Notifications tab.
Step 4: Exploring the Dashboard
Your dashboard is the hub for all your activities. Here’s what you can do:
- Create Surveys: Start building your first survey with the drag-and-drop builder.
- View Analytics: Monitor your survey’s performance in real time.
- Manage Integrations: Connect Survia to other tools for seamless workflows.
Troubleshooting and Support
Having trouble setting up your account? No worries!
- Visit our Help Center.
- Contact our support team at hi@survia.io.
Now that your account is set up, you’re ready to create engaging surveys and gain valuable insights. Welcome aboard, and happy surveying! 🚀